How to Build a Super Easy DIY Mirror Frame in 5 Steps:
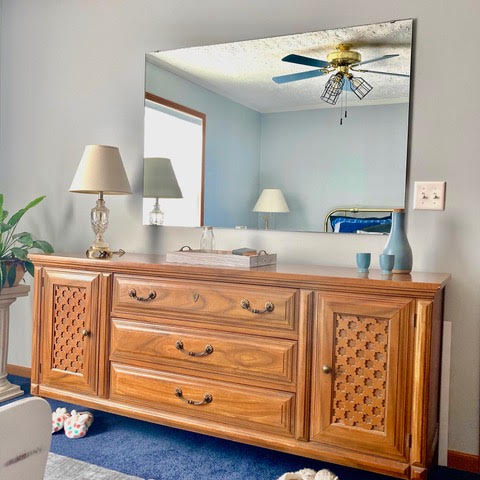
Mirrors without mirror frames are like a work of art that has yet to be finished. It just does not look complete! However, ordering custom mirror frames for an unframed mirror can be very expensive! Luckily, (as always) there’s a way around this little problem. You can build your own DIY mirror frame for a fraction of the cost of buying one!
DIY Mirror Frame Project Details
Time- About 2 hours total (drying time not included)
Predicted Cost- $70 (based on a 36” long by 60” wide mirror)
Money Saved- Well over $300 in most cases
Difficulty- Medium (simple building knowledge required… how to use a miter saw, a drill, and basic knowledge of woodworking.)
Supplies:
- A tape measure
- 1×4 white wood pine boards (I got mine from my local hardware store- Superior Hardware in Grand Marais, MI.)
- Sandpaper
- Wood stain (I used the brand Varathane in the color Dark Walnut)
- A staining cloth
- Drop cloth or a tarp (the tarps are cheaper, but they are generally harder to reuse over and over again.)
- Angled brackets with screws (I used 2.5” by 2.5” zinc plated)
- Disposable gloves
- Black spray paint
- Liquid nails or picture hanging kit
The Breakdown:
- Measure Mirror
- Gather the supplies
- Cut the 1x4s
- Sand and stain the 1x4s
- Spray paint brackets and bracket screw heads
- Mount
Step #1- Measure Your Mirror
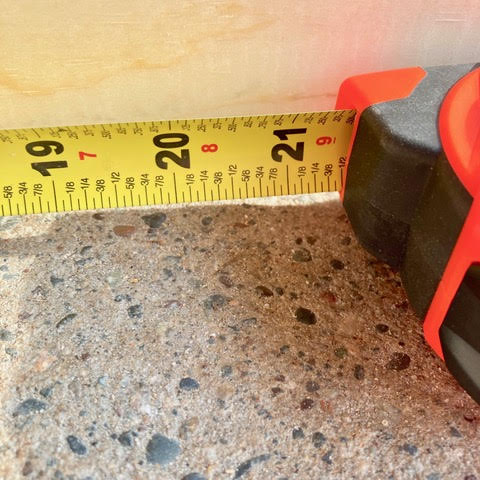
In order to figure out how much wood you will need to purchase for your DIY mirror frame, you will need to measure your mirror. You will need both the width (the horizontal measurement), and the length (the vertical measurement). The mirror that I built the DIY mirror frame for was 36” long by 60” wide. Once you have your measurements, add an inch to each side of the mirror to get the total amount of wood you will be using. For example, the total amount of wood that I would be using amounted to 196 inches… or slightly over 16 feet. That meant that I needed to purchase at least slightly over 16 feet of 1×4 pine boards.
Step #2- Gather Your Supplies and Cut Your Boards

Take a trip to your local hardware store and purchase your 1×4 white wood pine boards. Again, use the measurements that you calculated from the last step to figuring out how many boards to purchase. I needed to buy two 1×4’s total- one 1x4x12 and one 1x4x8. Once you get home, It’s time to cut the boards. I used my 1x4x8 and cut two pieces at 37” (the length of my mirror with the added inch). Then, for the 1x4x12, I cut two pieces at 61” (the width of my mirror plus the extra inch). Now I had four boards cut: one for each side of the mirror.
However, we’re not done with the saw just yet. Now that we have our boards cut into four pieces, it’s time to cut 45-degree angles on both sides of all the boards. To do this, cut one side of one of your boards at a 45-degree angle. Flip the board over, and cut another 45-degree angle in the opposite direction. Repeat this with all of your boards. I recommend laying the boards out as you go so that it is easier to see the frame come together. Now that the boards are all cut, they’re ready for step #3.
Step #3- Sand and Stain the Boards
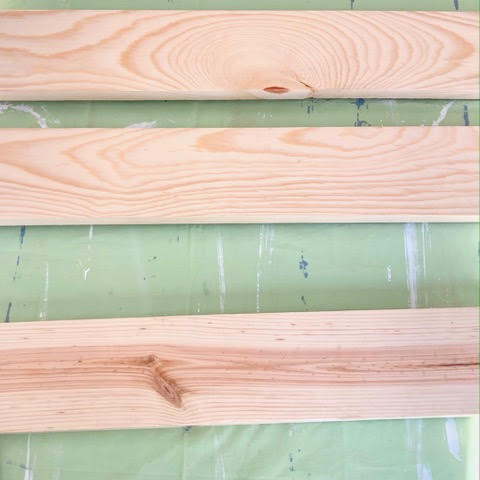
Lightly sand each of the boards. Make sure to get the ends that you cut really good because they will be a bit sharp. Wipe the sandpaper dust off of the boards using a damp cloth. Once the boards are dry, lay them out on some drop cloth or a tarp and apply your first coat of stain. I used a staining cloth to stain my boards, and it worked great. I simply dabbed some of the stains onto my cloth and wiped it onto the board going in the direction of the wood grain. After you are finished applying your first coat of stain, let the boards dry.
Depending on how generous you were with the stain, it may take anywhere from a couple of hours to an overnight sit. After the first coat is dry, I recommend doing a second coat for better coverage and a darker appeal. The only reason you should not go through with a second coat is if you really like the color of the boards after the first coat has fully dried.
Step #4- (Optional) Spray Paint Screws and Brackets Black
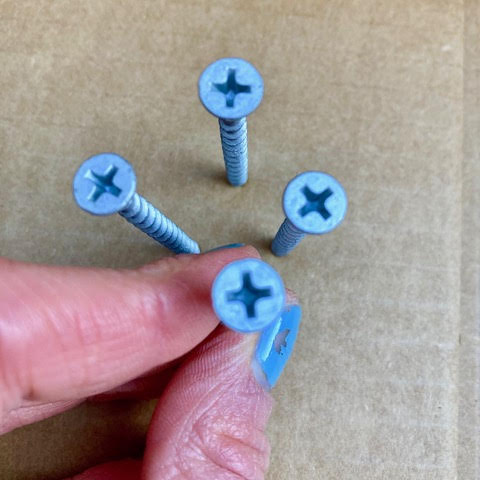
Seeing that my brackets and screws were going to be visible, I decided that they needed a little customization. So, I spray-painted the screw heads and the brackets black to give them a more refined, expensive appeal. Make sure when you do this that you wear disposable gloves, and spray in an open area (such as outside). This way, you won’t get the overspray on anything except the screws and brackets. Allow the paint to dry completely. The paint should dry within 15 to 30 minutes. Then, you are ready for the fun part! Mounting time!!
Step #5- Mount
Option #1
Now that you have everything you will need to create the DIY mirror frame, it is time to mount it. Every opinion is different when it comes to this step because there are so many different ways to go about it. For mine, I actually was dealing with slightly warped boards (something I fully recommend not doing, but I had no other option). So, I actually had to mount mine like you would mount a picture frame. I ordered a picture frame hanging kit from Amazon (which, by the way, I still use to this day. There are SO many different hanging hardware in it, and I would recommend this kit to any homeowner).
Once the picture frame hanging kit arrived, I evenly spaced out some D rings all around the back side of the mirror frame. Then, I went around the mirror and piloted holes that would line up with the D rings I just added to the backside of the mirror frame. Piloting the holes allowed me to make sure that I had lined everything up properly. Then, I went ahead and added some drywall screws into each pilot hole around the mirror. That was it. Then I just hung it like you would hang any old picture frame. I recommend having a second person handy if you mount your mirror frame like this. It will be a bit awkward and heavy to lift up onto the wall. Was this method ideal? Nope! But, it still hangs to this day. So, it cannot be said that this method doesn’t work.
Option #2
In case you are not interested in hanging your DIY mirror frame like a picture, here is an alternative method. You will want your mirror frame to lay flush against the mirror itself, so if there are any mounting pieces sticking out further than the mirror, remove them. Be careful! Removing the mounting pieces could loosen the mirror away from your wall, so I recommend having a second pair of hands readily available to help hold the mirror in place.
After you have removed any mounting pieces that were sticking out too far, you’re going to refasten the mirror to the wall. To do this, first, find the location of your wall studs. You can use a stud finder or simply knock in a repeated horizontal pattern until you hear an evident change in the sound of your knock. You will know you have hit a stud when your knock no longer sounds hollow, but solid. Then, take a screw with the lock washer attached to it, and slowly screw it into the stud directly above the mirror. Repeat this for every stud that you can find around the mirror.
Next, apply some Liquid Nails in a wave-like pattern along the bottom edge of the back side of one of your mirror frame boards. Gently press the board onto the mirror edge. Make sure that you put the right boards on the correct edges of your mirror! By only applying the Liquid Nails along the bottom edge of the board, you are assuring it won’t be seen in the reflection of your mirror. Repeat applying the Liquid Nails to the bottom edges of your other three boards, and press them against the mirror in their correct areas. Allow the Liquid Nails to dry for at least a few hours. The faster the Liquid Nails dries the better. This is why the Liquid Nails Fuze*It is a better option than the original Liquid Nails.
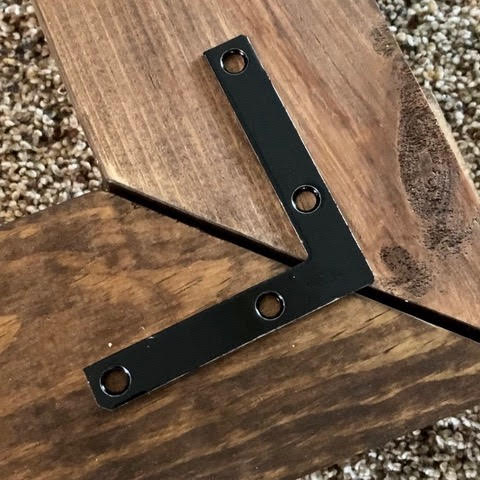
After waiting a few hours for the Liquid Nails to fully dry, you can install your brackets. Take one of your spray-painted brackets and screw it into one of the corners of your mirror frame. Make pilot holes before you insert the screws so that you do not accidentally split your brand-new mirror frame! Repeat piloting and screwing your brackets into the other three corners. And, done!
My Thoughts:
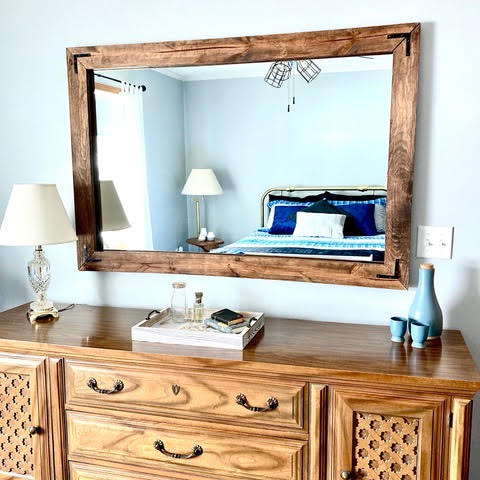
Making a DIY mirror frame is a super easy project that anyone with a little building knowledge can tackle. Considering how much it is to buy a custom mirror frame, this project is a no-brainer for me. Buying a $500 custom mirror frame is just not in the budget sometimes. So, building your own mirror frame for a fraction of the cost is an excellent alternative! For the most part, this project can be done without the help of a second pair of hands. But, like all projects, two people will make this project even faster and easier. The trickiest part for me was, without a doubt, the mounting. But, even the mounting step only took me (at most) 15 minutes.
Conclusion:
I hope that this project has inspired you that there are always alternative ways to achieve the looks we want without breaking the bank. DIY mirror frames are both easy, affordable, and absolutely beautiful if done correctly. If you are getting tired of that frameless mirror hanging on your wall this winter, then go get yourself some lumber, screws, and brackets. In less than two hours, you will have a DIY mirror frame that will transform the feel of your entire room. If you have any questions regarding this project or would like to add input on your experiences attempting this project, please feel free to leave a comment below. As always, happy crafting! Let’s make our homes beautiful one DIY project at a time!
Side Note:
Thank you so much to The BeefMaster on YouTube for the inspiration and guidance on the creation of this mirror frame. If you find yourself struggling to read the steps above on building your DIY mirror frame, I strongly encourage you to watch The BeefMaster tutorial to help you get a better grasp on the steps.
*This post contains affiliate links
0 Comments