
- Brand-new ceiling fans can be quite expensive.
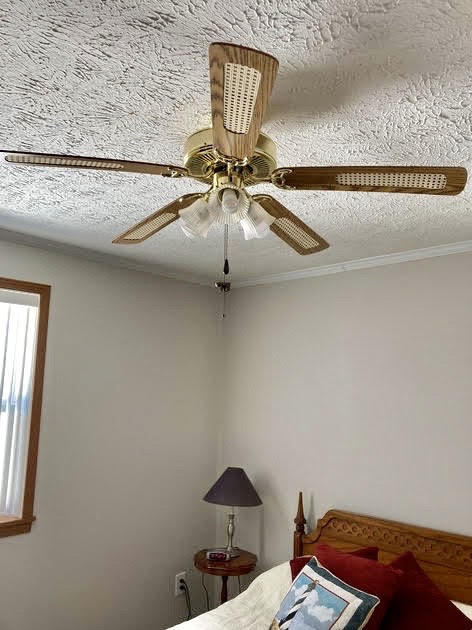
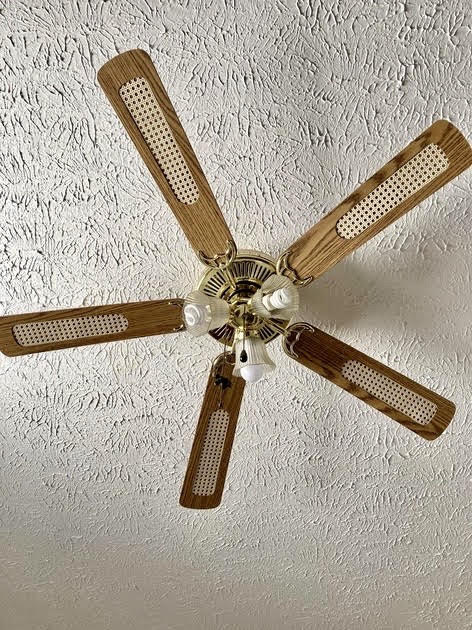
- The fan blades were reversible (no more cane for us!).
- We didn’t mind the fact that the fan motor was brass because brass was the metal used throughout the room.
- We could get the look we wanted for a much better price
So, after the plan had been formulated and the supplies had been purchased, I began to update my grandma’s ’70s ceiling fan into a sleek, modern farmhouse ceiling fan instead.
Materials List:
- Screwdrivers
- Sandpaper
- A damp cloth
- Interior primer (I used Kilz Interior Primer)
- Interior paint color of your choosing (I used Valspar’s interior paint in the color Alaskite with a semi-gloss sheen)
- Paintbrushes (I used the 2-inch Purdy Paint Brush. I also used some smaller art paintbrushes to paint the sides/delicate areas.)
- A new pull chain (optional)
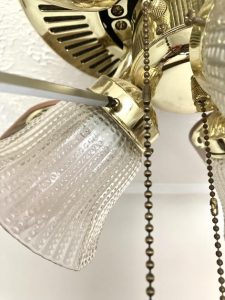
- New fan globes (make sure you get the right size! Always measure before ordering!)
- Edison-styled lightbulbs (optional)
- A covered, open area suitable for painting in
Step #1: Remove the Old Fan Globes, Pull Chain, and Blades from the Fan Motorhead
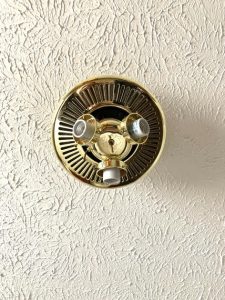
As we all know, you have to take the ceiling fan apart before you update it. First, I removed the old glass fan globes. They were not screwed into the motorhead, but they did have screws that were twistable to loosen the globe away from the light socket. Next, I removed the old pull. Mine was simply attached by a beaded chain, so removing it was easy peasy. For the last part of the removal process, I used a screwdriver to take the fan blades off of the motorhead. Make sure to keep ALL of your screws and washers because you will need them for later!
Step #2: Unscrew the Fan Blade Brackets
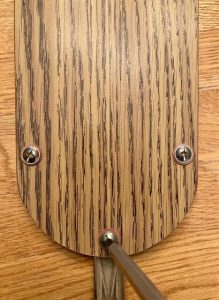
After all of the blades are within reach and no longer attached to the motorhead, each fan blade bracket was removed using a screwdriver. Again, be sure to save all of the screws and brackets!
Step #3: Sand the Blades
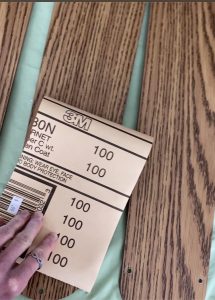
Now that the wooden part of the blade was by themselves, I laid all of them out on a flat painting surface (cane-embellishment-side down). Then, taking some 100-grit sandpaper, I carefully sanded each side of all the fan blades until they appeared rough and unfinished. This step helps immensely in allowing your paint and primer to adhere to the wooden blades better.
Step #4: Prime and Paint the Fan Blades
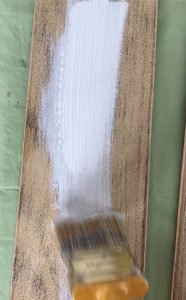
After the wooden fan blades were lightly sanded, I wiped them clean with a damp microfiber cloth. While the blades were drying, I pulled out all of my painting equipment. I began by putting small blocks of wood underneath each blade to keep them up above the surface I was working on. Then, I applied a thin layer of the Kilz interior primer using my 2-inch paint brush. If you opt to use spray paint, you might be able to skip this step depending on your spray paint label. Some are a two-in-one deal where the primer is mixed in with the paint color. So, be sure to check the packaging! To get primer in the smaller areas, I used my smaller paintbrushes. To speed up the drying time, I took a hair dryer and held it above the wet blades until the primer was visibly drier. And, just to be certain that they were dry, I lightly touched each blade to make sure that it did not smudge.
Now that my wooden fan blades were primed, I cracked open my paint! Still having the blades raised off the painting surface with the help of wood blocks, I applied the first coat of paint. Knowing that one coat would most likely not be enough, I took the hair dryer to the blades again to speed things up. Then, I painted another coat of paint on each blade and allowed them to fully dry overnight. It only took two coats total to have full coverage on my fan blades- thanks to the primer.
Step #5: Reattach Everything
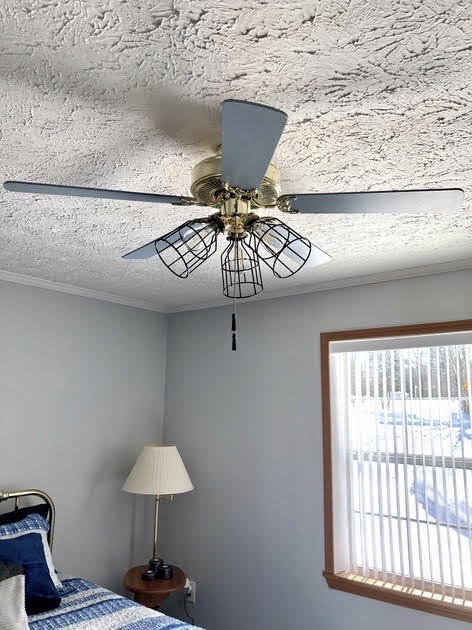
After the paint was fully dry to the touch, I began putting the fan puzzle pieces back together. It’s basically the reverse of what I did to take the fan apart. First, I screwed the brackets back into the wooden fan blades. Next, I installed the farmhouse globes, new fan pull, and vintage light bulbs. After everything was installed, it was time for the fun part…. screwing the blades back onto the motorhead. I’m not going to lie, this was definitely the most tedious part of the entire project. That being said, it still took me less than 10 minutes to screw all of the blades on. The worst part was the neck cramps you’ll get from looking up for so long. If you have neck issues, I recommend passing this step on to somebody else in your household.
Some Helpful Tips and Insights From My Personal Experience of Updating an Old Ceiling Fan:
- Although you can do this project independently (for the most part), having an extra set of hands available would be very helpful- especially for disassembling and reassembling your parts.
- Only light sanding is needed to make a difference with paint adherence. So, do not exhaust yourself sanding the blades. Wiping the dust away after you sand is more important. If you do a poor job wiping, you risk ending up with a lumpy paint job.
- If you’re impatient like me, then the hair dryer is a great way to speed things up! However, make sure that your hair dryer has the “cold-blowing” option because the warm setting could potentially damage your fresh paint job.
- The order that works best for reinstallation after you update the ceiling fan is A) the new pull, B) the painted blades, C) the new globes, and D) the vintage light bulbs
Ta-da!!! That’s it, my friends! If you have old, outdated ceiling fans around your home, this is definitely an alternative option to consider before buying brand-new ones. Updating ceiling fans is a super affordable and easy project to undertake. Plus, this project doesn’t take up a lot of room. Therefore, it can be done during any season! Who doesn’t want to cure winter boredom by getting something productive done like updating their old ceiling fans? Certainly not me!

0 Comments