An Affordable DIY Dresser Makeover in 5 Easy Steps
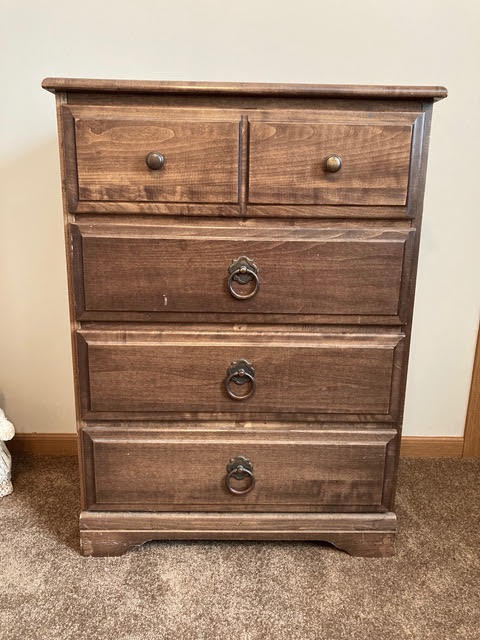
Every year, solid wooden dressers are made less and less. Many furniture companies have since found more affordable options to replace them. This helps cut both their cost and your price. Because wooden dressers are harder to come by, those of you who have a solid wood dresser should value that piece of furniture much more. Or, at least, I hope you do. The problem with old wooden dressers is that they sometimes can make a home look outdated. More times than not, the dresser’s stain is the cause of this. Today, I will be showing you a super easy DIY dresser makeover project that will give you an old/new, beautiful piece of furniture.
DIY Dresser Makeover Project Details:
Price- Approx. $65
Time- About 2 hrs. (drying time not included)
Difficulty- EASY
Supplies:
- Sandpaper (a variation of grits)
- Tack cloths
- Polyurethane (I used the Specialty Polyurethane Spray in the satin finish)
- (OPTIONAL) New Dresser Pulls and Knobs
- An open, ventilated room to work in
The Breakdown:
- Remove all knobs and pulls
- Sand, sand, sand!
- Wipe clean using a tack cloth
- Seal
- Reattach all knobs and pulls
Step #1: Remove All the Dresser Components
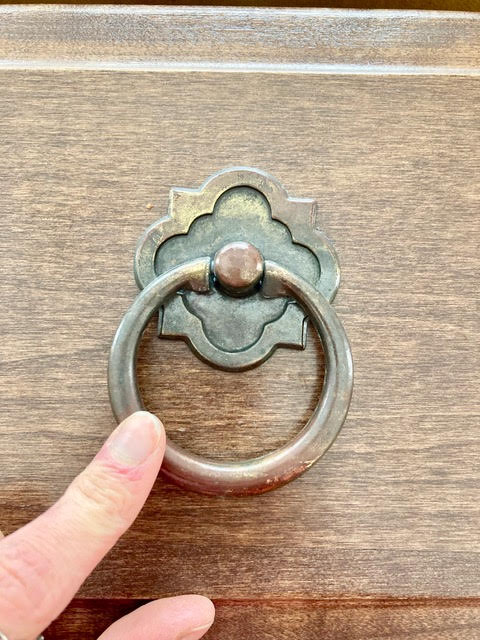
Your DIY dresser makeover process will be a LOT easier if you remove all of the components first. This is especially true if you want an even sanding on the entire piece. Although I wish I had guidance on how to remove the hardware, no two situations are exactly the same. But (generally speaking), you will probably need a screwdriver to loosen the screws that hold the pulls and knobs in place. Mine had all knobs, and it took me under two minutes to loosen and remove all of them.
After you remove all of your dresser pulls and knobs, go ahead and pull out the drawers. Removing the drawers to sand them separately will give you a more even sanding job.
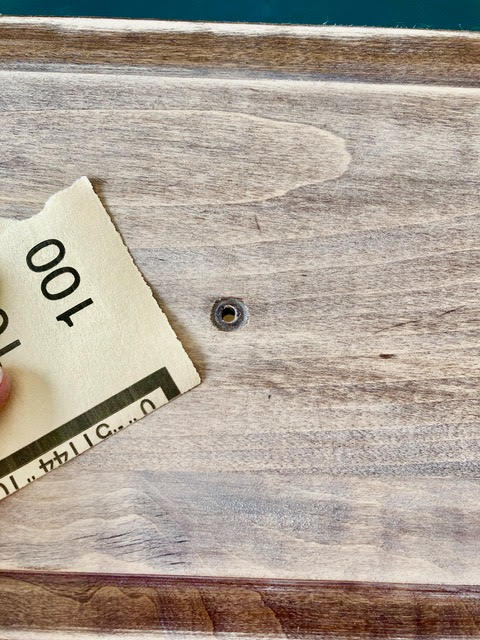
Step #2: Sand Your Heart Out!
After everything is removed from your dresser, the fun part begins. Yup, you guessed it! To achieve this distressed, two-toned look, you must sand until you can’t sand anymore! Now, you may be wondering, why you can’t use an orbital sander or a sander belt. Of course, you could go that route. But, I recommend avoiding it for several reasons. The first is that you risk cracking the dresser with the power of the sander. The second is that you will not be able to get the sanding job as even. And, the third us is the biggest: it will leave a weird pattern. Now, if you’re all for a funky look and are willing to risk having the dresser crack, then go ahead and use a sander. Do whatever suits your fancy!
The sanding process will take you the longest out of all the steps. To start, lay the dresser on an old sheet or drop cloth to help confine the dust. Next, take one of your lower grit sandpaper pieces (preferably a 100 grit or a 120 grit) and pick an area of the dresser to work on. Begin to sand the wooden dresser back and forth in a straight up-and-down motion. Make sure when you are sanding that you go in the direction of the wood grain- NOT against it! Continue to rub back and forth until the stain starts to wear down. Once you can see the raw wood peek through, you know you’ve succeeded. Continue sanding in the same area until you are satisfied with the amount of raw wood showing. Continue sanding the entire dresser (and the dresser drawers) in the same manner until you are completely satisfied with the stain-to-raw-wood ratio.
Sanding Tips and Tricks:
Although there are no real rules to how you go about the sanding process, there are a few tips and tricks that I learned from my experience:
- Work in bite-sized pieces. Don’t go trying to tackle sanding the entire piece all at once. Break it down into small sections. Do not move from your chosen section until you are completely satisfied with the way the section looks.
- Start on your lowest grit possible, and work your way up into the higher grits.
- Take sanding breaks! Sanding can be very repetitive and exhausting. So, I fully recommend taking a break every now and then. The amount of breaks that you will need to take is solely based on you, your strength level, and your patience.
- Just remember when you start to get aggravated: It will be worth it! You’ll forget all about the pain afterward and just be able to admire your handiwork.
Step #3: Wiping the Dresser Down with Tack Cloth

This step is super important if you want to end up with a pretty piece of furniture in the end. After you have sanded enough stain off to your liking, it’s time to wipe it down super good to get the dust off. I used tack cloth because it picks up all the dust- not just the visible stuff. You will probably need several tack cloth pieces to get the job done, depending on the size of your dresser. Mine took two pieces.
There is no correct or incorrect way to wipe the dresser off other than to get every dust particle that you can. Similar to sanding, it is much easier to take it in bite-sized pieces. This will ensure that you are hitting all of the nooks and crannies.
Step #4: Sealing Time!!
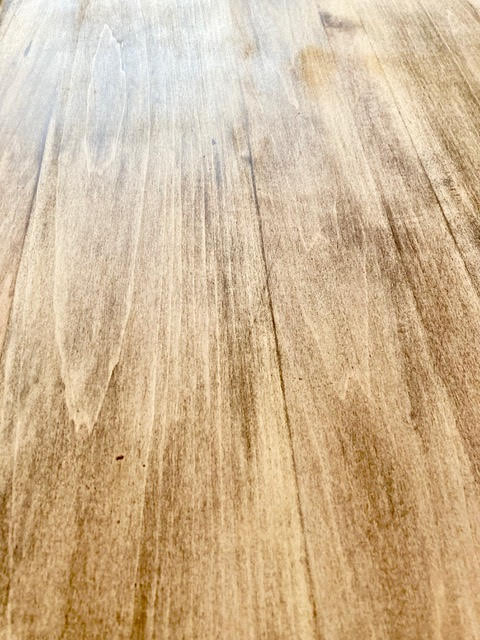
Now that you have a dust-free dresser again, it probably looks a lot better than it did before. In fact, it looks amazing. The bits of stain mixed with the bits of raw wood creates a super contrasting effect. But, wait! We’re not done yet. Sealing the dresser with some Polyurethane is dire if you want it to withstand the wear and tear of everyday usage.
I used the Specialty Polyurethane Spray in the satin finish to seal my wooden dresser. Although I wanted durability, I didn’t want my new/old piece of furniture to have any shine to it. Satin was the lowest gloss finish that I could find for the specialty polyurethane spray, so that’s what I went with. If you would like more shine to your dresser, then by all means get a higher sheen. It all depends on your personal preference and the style you’re looking to achieve.
The First Coat
Take the dresser into a well-ventilated, covered room or outside before beginning! Once you are all set up to spray, begin spraying the entire piece. Start at the top, and work your way down toward the bottom. This way, you help minimize your drip loss. After you spray the dresser, spray the drawer fronts in the same manner. Allow everything to dry (preferably overnight or for 4 hours at minimum).
The Second Coat
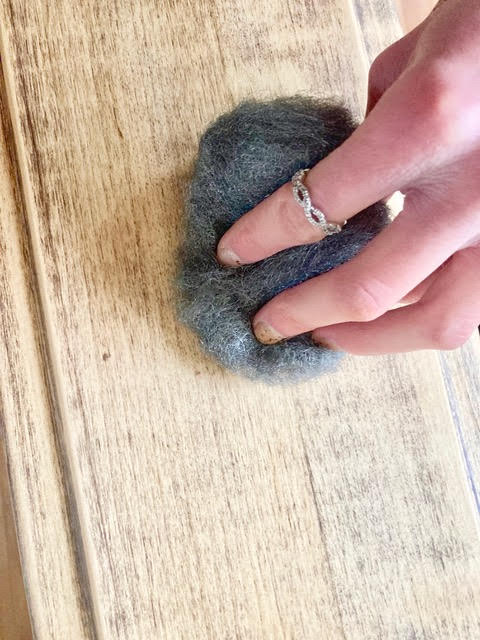
After the second coat is dry, you are going to want to take one of your higher grits of sandpaper and sand the entire dresser down again- drawers and all. Sanding in between coats of polyurethane will give you a much smoother finish. If you are out of sandpaper but have some rough fine steel wool, then you can use that as well. I used a mix of both. After you sand (or rub) everything down (Note: you don’t have to sand hard. A light sanding across the entire dresser will suffice), take some more tack cloth and wipe off the dust. Then, spray a second coat of polyurethane all over the entire piece using the same technique as the first coat.
The Third Coat
By now, your finger probably hurts from spraying for so long. But, I have some good news! You have made it to the final coat! After your second coat of polyurethane has dried, take your high-grit sandpaper for the last time and sand the whole dresser down. Then, take your tack cloth for the last time and wipe the whole dresser down super good! Spray that third (and final) coat on just like you did with the first and second. And, good news! Your hands are done working for the day. Allow the dresser to dry through the night.
You Made It!
I bet you slept like a rock after all of that sanding and spraying. All that’s left to do is reattach your hardware pieces to the drawer fronts (Basically the reverse of the very first step of this project) and place the drawers back into the dresser. To really modernize my wooden dresser, I bought all new knobs. You do not have to do this if you like the ones your dresser currently has, but I wasn’t very fond of mine. So, I went with some ring-shaped black dresser knobs from Amazon instead. I feel like they really helped enhance the dramatic effect of the dark stain mixed with the light raw wood. And, they definitely fit the modern-farmhouse style that I was trying to achieve.
Conclusion
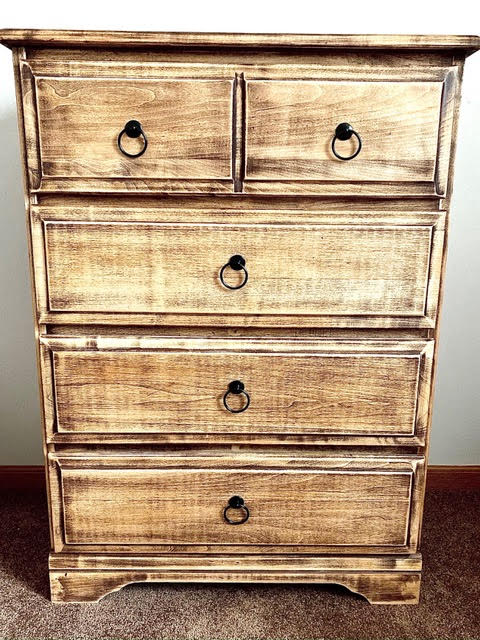
Although this DIY dresser makeover is an easy project to tackle, it can be a bit physically tiring. Your hands and arms will get a nice workout for sure! But, the results are well worth it. I love how my wooden dresser turned out, and I especially love that there’s no other exactly like it. I made that sad wooden dresser into something eye-catching and beautiful. Nothing feels more rewarding than hard work that paid off! I hope that this DIY dresser makeover project inspires you to second guess buying a brand-new dresser. And, instead, I hope you attempt to customize the one you already have. If you tackle this project, please let me know below how your experience went. And, feel free to leave pictures so that everyone can admire each other’s creations. Let’s DIY together!
Now that the outside of your dresser is pretty, how about we fix the inside contents too? Make sure to go and check out my blog post on organizing dresser drawers. Also, don’t miss my blog post on how to fold clothes like a pro.
0 Comments